MINEX3D CLIENT CROSS SECTIONS FUNCTIONALITY

Minex3D.com team in its effort of progressing towards the goal of offering the leading web based 3D geologic modeling solution is proud to announce that a new milestone has been reached.

The minex3DApp now has the capability of exploring its hosted models using dynamically generated cross sections…  read more…

Leave a Reply

Your email address will not be published. Required fields are marked *

Minex3D Client Cross Sections Functionality

Minex3D.com team in its effort of progressing towards the goal of offering the leading web based 3D geologic modeling solution is proud to announce that a new milestone has been reached.

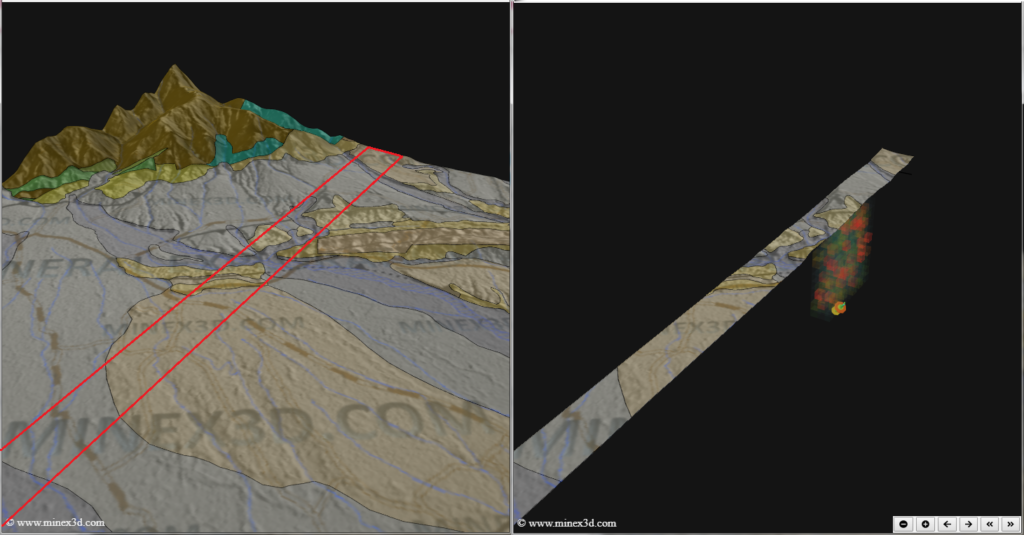
The minex3DApp now has the capability of exploring its hosted models using dynamically generated cross sections, and also offers the utility of storing visualization & cross section setup as a persistent file that can be loaded at a later time for review, share, or as a collection of views for presentations etc.

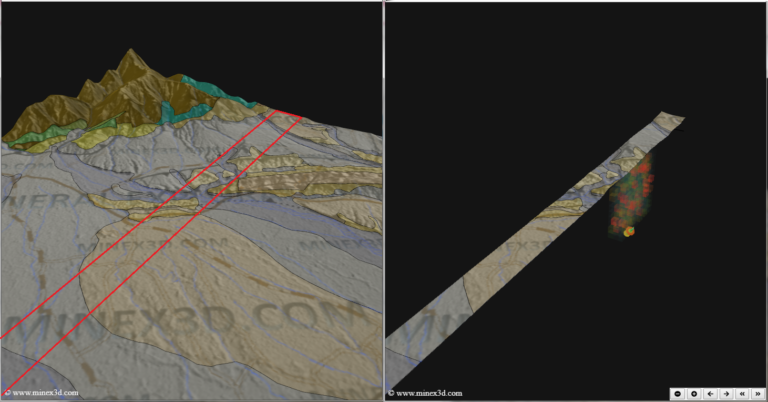
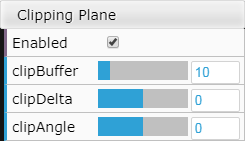
The Cross Section functionality can be accessed on the GUI menu to the right, by expanding the “Clipping Plane” item and enabling it; that changes immediatly the 3D view restricting the visible model to a buffer located at the center of the model and oriented by default N-S. The cross section functionality, contrary to a significant number of other applications for modeling available on the market, performs the calculations of sections on-the-fly, so its launch and modifications happen immediatly, without delay, additional dialogs or creation of wasteful auxiliary files.

A note on the functionality behavior: the cross section enhances the functionality of the application but does not interfere with any other configuration/view the user might have defined, so if for instance you have used the layers user interface in the menu and defined visibility, opacity, borders, etc., these modifications will appear in the same form when the cross section is active.

A Fast Cross Section Tutorial

Extending beyond the basic tutorial that you can visit here, in the following lines there is a simple description of how to operate de cross section.

The starting point to activate the cross section functionality is the Clipping Plane menu, The clipBuffer bar sets an absolute thickness of the section in model units, the clipDelta each time is actioned to the right or to the left, adds an increment to the current position of the plane perpendicular to the direction the plane is oriented, the last bar clipAngle if actioned adds an increment in fractions of a degree to the current orientation measured around the center of the visible model.  

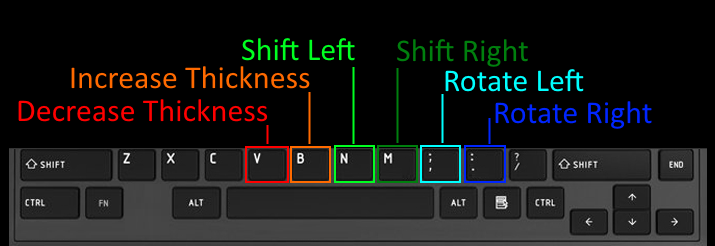
The footer buttons are hidden while the Clipping Plane is not active and become active as soon as its enabled, staying that way even if the GUI menu is set of invisible; its main use is on mobile devices that lack a keyboard for the shortcuts, and where the use of the bars is not convenient such as touchscreen devices with low input resolution.

One of the most convenient ways of interacting with the minex3DApp is via keyboard, as displacements, angle changes for the view and the cross section are incremented/modified in a precise way, not prone to mouse drifts or sensibility. For the cross section functionality all the shortcuts are organized reflecting the order displayed in the footer buttons to ease the user’s learning curve.

Using the Persistence Buttons

The configuration of a view with all the details that make a perfect angle, display, transparency, and added to all that the buffer, location and angle of a cross section is a time consuming task, and letting that to waste every time the web application is reloaded or being unable to share that setting with others is an issue that minex3D addressed with the view persistence buttons.

The persistence functionality buttons are placed on the top-left area of the minex3DApp window on the top menu bar, and are not dependent on the Cross Section functionality, as its purpose is to store any form of visual configuration; so the persistence can be used at any moment from the launch of the application as soon as the user has been handed control of the app window.

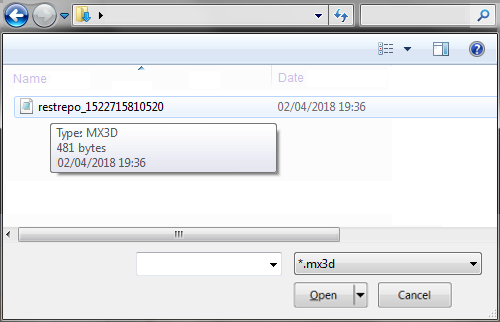
The minex3DApp configuration/view persistence file has a default extension *.MX3D, with easy search in mind in the case a user has stored different views for different purposes, even in separate folders, also the selection of MX3D is aimed at avoiding taking an extension already taken by any application currently deployed around the world, that could lead to loads with errors either in those apps or in minex3DApp. 

The dialogs (Open/Save) focus immediatly on MX3D files, that by default use the source/target project´s name + a generated number using the timestamp of moment of saving; The file name can be edited to personal preferences though. 

Coming Developments Down The Road

This development milestone is the opening for the next generation in modeling of subsurface geologic  and mineral features, that will allow the community to achieve 3D subsurface understanding  for general geology, mineral resource evaluation, and engineering purposes over the web, independent of the device used and free of heavy installations.